
The long awaited DIY project -better be good right? Well here was my dilemma. I originally thought up this idea in response the the Dollar Store Craft Challenge (on the 1st of this month…). I needed something to organize all of my thoughts and office stuff so it seemed like the perfect opportunity. The problem was I was unsure how I wanted to do it-so I kept going back and forth, even after I purchased the supplies. Then something came up so I couldn't post it in time for the challenge anyway. Then I was lazy and a 3 hour project suddenly became a 3 week project. Finally my last issue was, I wasn't sure how to post it because ultimately I was doing 3 projects, and it may be long for one post. Long story short, I've finally decided to break it up over 3 posts.
Part 1: The Calendar
I needed a calendar desperately. Something big and easy to see that I didn't need to flip through pages in a book or a binder. So I could keep track of the generic things, like concerts and doctor appointments! This seemed like a no-brainer to me.
Supplies:
Frame-if you have one at home, use it! Mine was from the Dollar Store
Spray Paint-I had extra on hand in white
Scrapbook Paper-I had this on hand, but any paper, or wrapping paper you like will work
Paint brush-a foam brush will work even better, you can get these at the Dollar Store
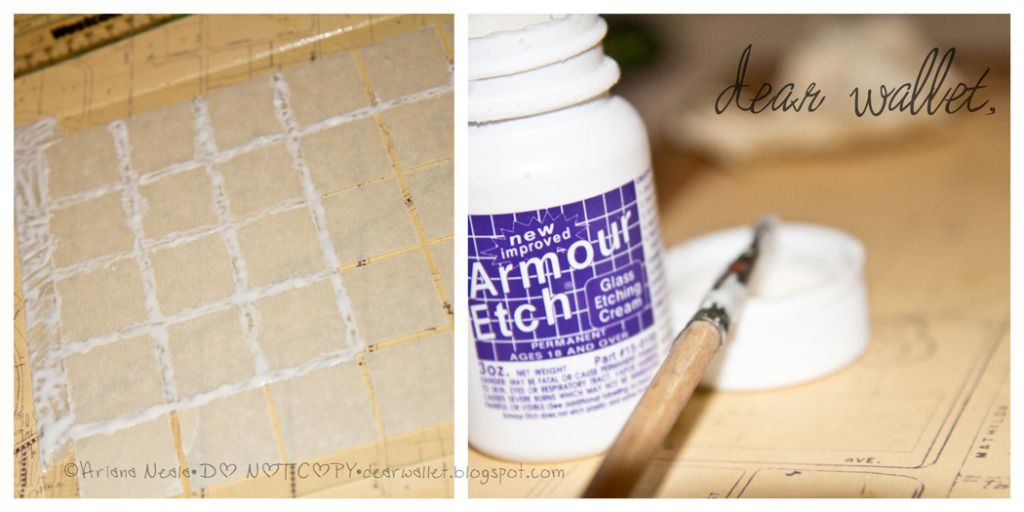
Etching Solution-had this on hand as well.
My cost: $1
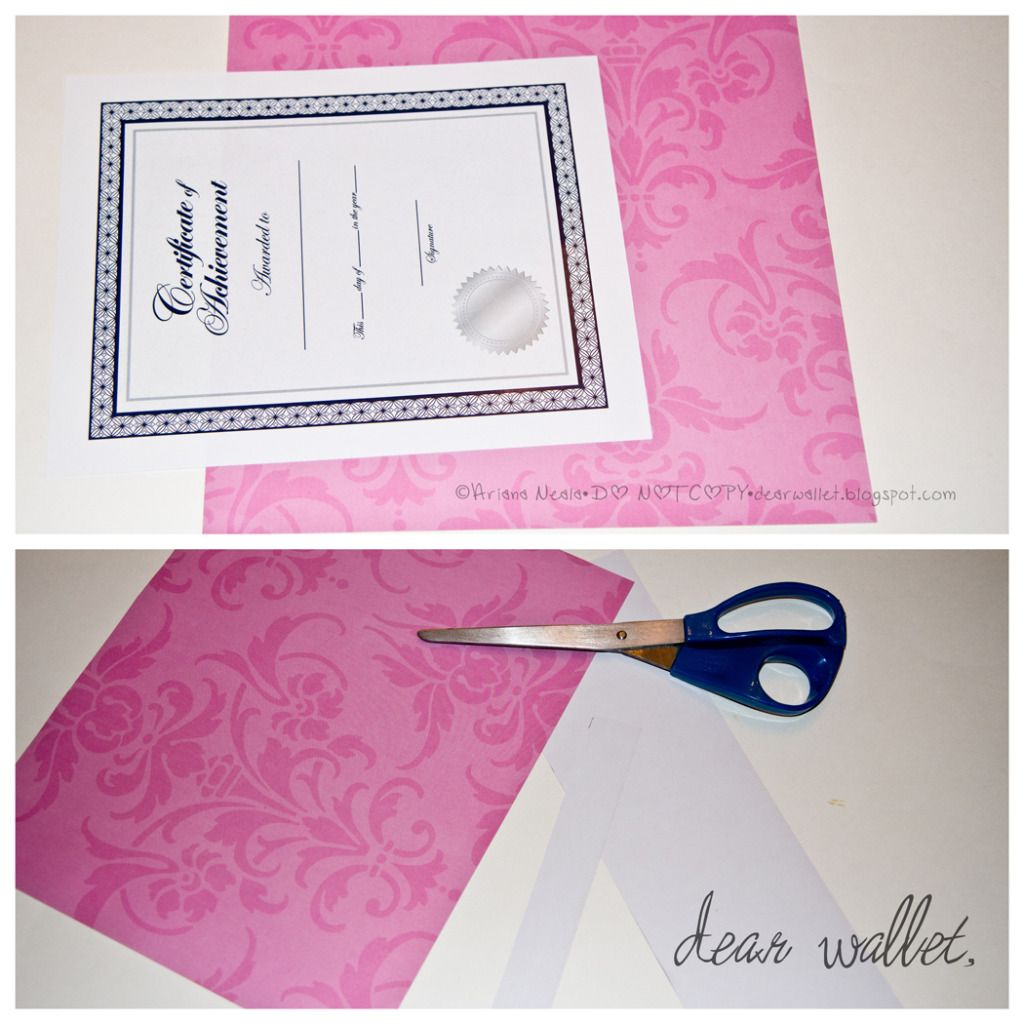
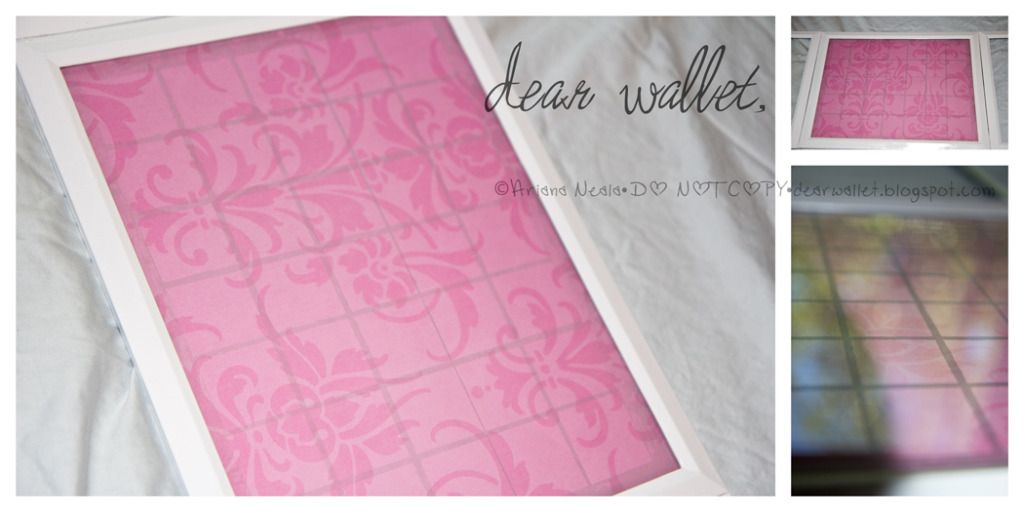
I started this project out by painting the frame, I used spray paint and it ended up using 3 coats-which I will explain later in my third post. I used the paper inside the frame to measure and cut my scrapbook paper to the size needed. Since my office is gray, pink and yellow-I chose a cute pink pattern, the pattern you use should not be bold or distracting, try subdued patterns (tone on tone) or plain colors.
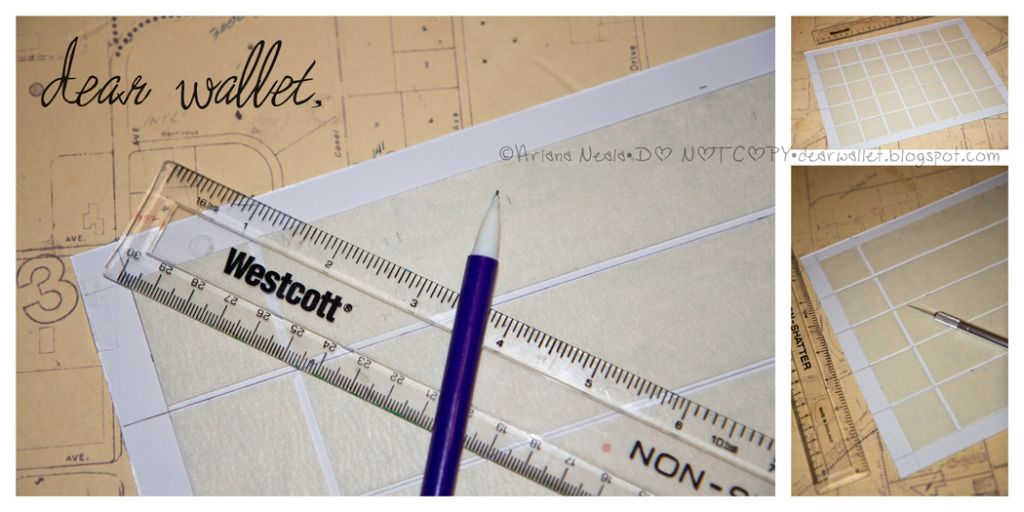
Next I measured out lines on the back of the page from the frame to create the basis of the calendar on. I measured in half an inch from either side to create a border, then measured what was left and divided by 5 (for horizontal). Then I taped it to the back of the glass. Using masking tape (or whatever you have on hand) I placed the tape along the lines on the other side of the glass, leaving about an 1/8th of an inch between them. Using a ruler and exacto knife, I cut off the excess to create that border.
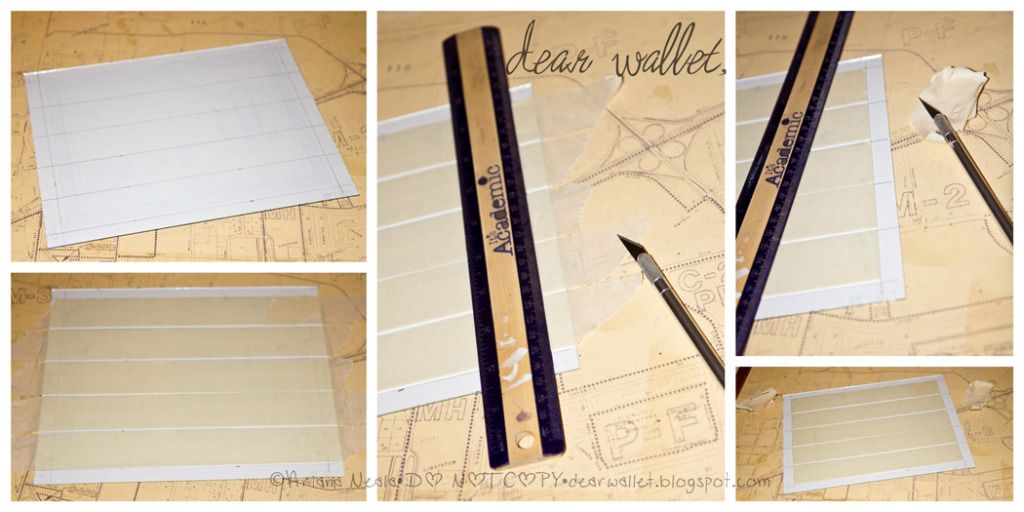
Measuring again I made the same divisions going down, dividing by 7 (for vertical). I left about 1/8th of an inch again between the boxes, and use the ruler and exacto to cut evenly.
Once my calendar was created via tape, I opened the etch solution and began dabbing it on. A foam brush would have worked better to create even strokes and fill it faster. Make sure you apply quickly and liberally. As you can see I did not and mine wasn't as even in the end result. Wait about 5-10 minutes before washing off.
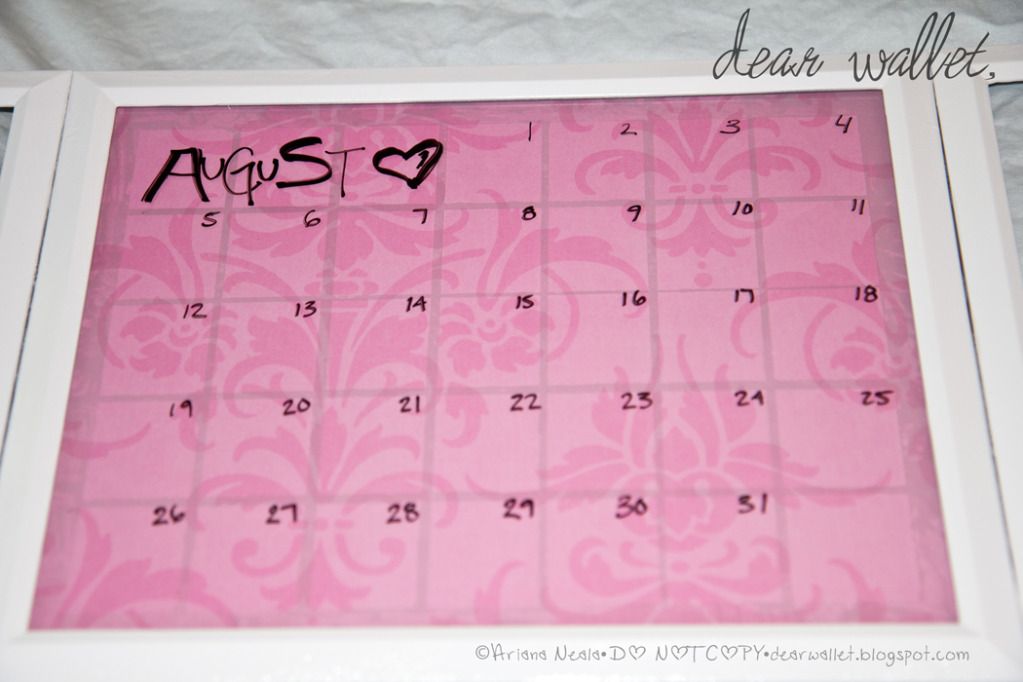
After it's dry replace in the frame, placing the paper behind it as a backdrop. You will have a perfect calendar border with a cute interchangeable background!
Now you can write on it with white board pens, and erase when you're done to change the dates every month! Plus, you can purchase the markers at the dollar Store!
Stay tuned next week, for the next part of my office organization!
•This may be shared on any of the link parties page•

This is a really good idea! I love being able to reuse something. Pretty paper too!
ReplyDeleteMe too! Thanks so much for stopping by and taking the time to comment! =)
DeleteLove this idea! Found you via Facebook. :) Heather
ReplyDeleteYay for social media! Thanks for stopping by! =)
Delete